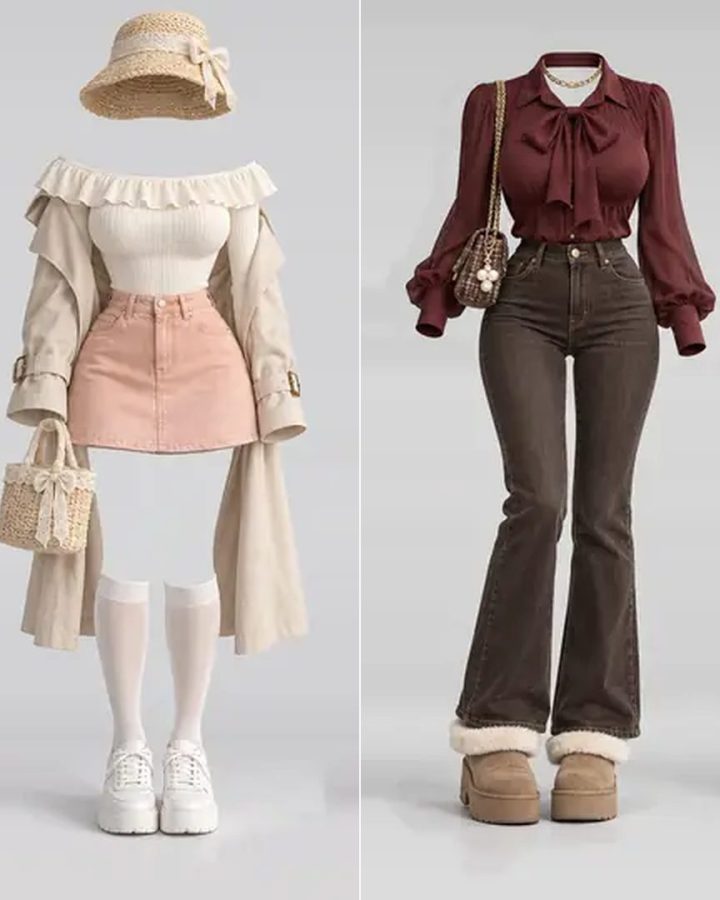
Pose description is positioning, not word stacking
The most common mistake when writing a prompt is to stuff “standing, full body, front view, hands on hips, slightly turned, long legs” in all at once. The model does not execute them one by one. It averages the pile into a vague impression and hands you back a figure that is “roughly like that”.
A pose description that actually works is doing spatial positioning: split the body into axes that can be described independently, and give each axis one explicit value. Then even when the model has to make a trade-off, it will not get the body relationships wrong.
Five axes, stated once
Axis one: body orientation
Front, three-quarter, side, back. This is the most overlooked axis and it has the largest effect. For the same hands-on-hips standing pose, a front view and a three-quarter view give completely different presence. Write it directly as front view, three-quarter view from left, side profile.
Axis two: weight and spine
Which leg carries the weight decides which way the hip pushes and how the shoulders tilt. Write it as weight on left leg, hips shifted to the right, S-curve spine. This single axis does more work than any adjective, because it decides whether the pose reads as alive.
Axis three: exact limb placement
Do not write “hand on the waist” — name which hand, where it rests, and where the elbow points. right hand on hip, elbow out at 90 degrees and left arm hanging relaxed are two separate instructions. Legs work the same way: left leg straight, right knee slightly bent, toes pointing out.
Axis four: camera and viewpoint
Eye level, high angle, low angle — three of the five angles in the library. A high angle makes the head large and the body small, which emphasises vulnerability; a low angle stretches the legs, which emphasises dominance. Write it as view from above, low angle shot, eye level.
Axis five: shot size
Full body, cowboy shot, upper body, close-up. The framing decides how much of the body appears, and therefore whether hands and feet are in frame at all — which directly affects your success rate. full body shot, cowboy shot, upper body, close-up portrait.
One complete example
Assemble the five axes and a structurally clean pose description looks like this:
full body shot, front view, young woman standing with weight on her left leg, hips shifted right, right hand on hip with elbow out, left arm relaxed at side, S-curve spine, eye level camera
Note that no adjective like “elegant”, “sexy” or “natural” appears. Those belong to the style words; the pose part only has to carry geometry.
Reverse-engineering the wording from the library
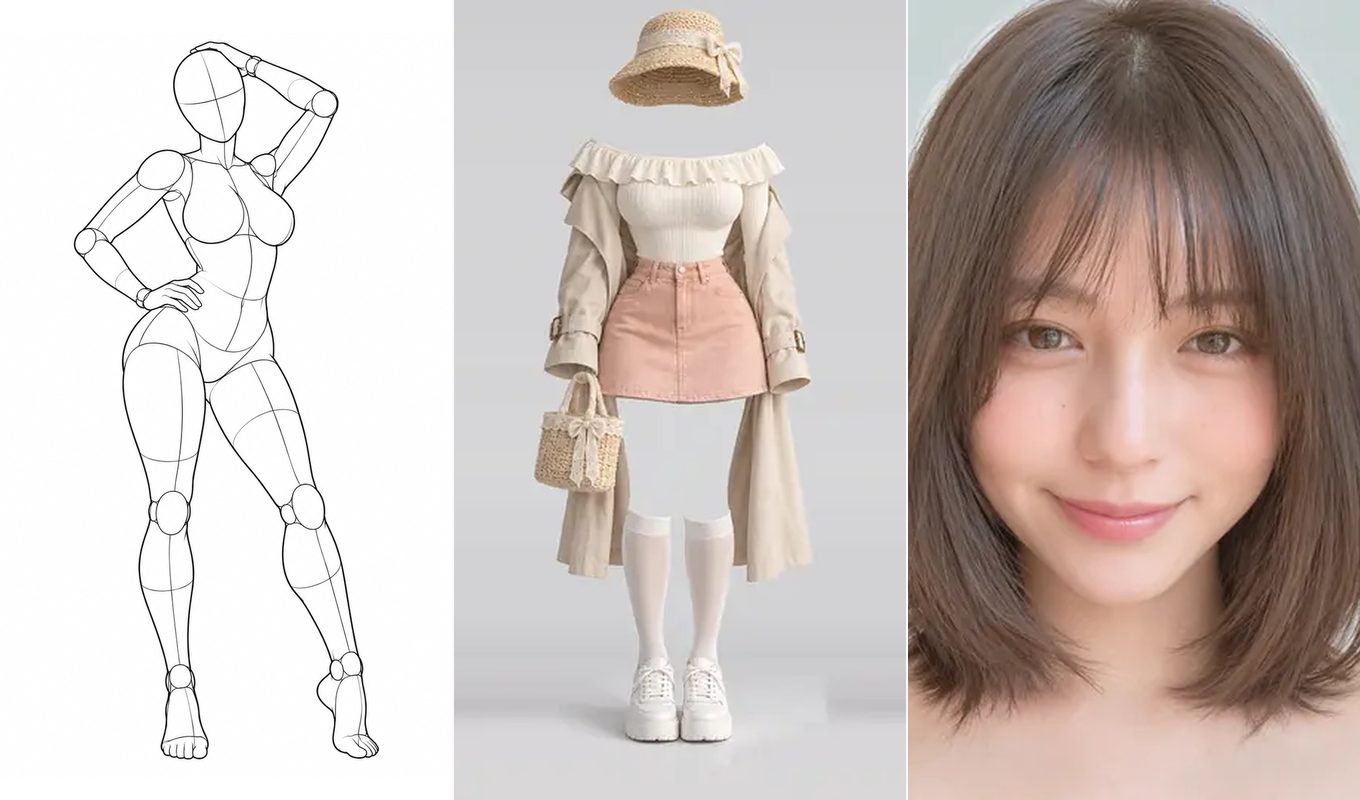
A very useful exercise: open any image in the pose library and try to describe it with the five axes above. A code like full_single_P001_front already encodes system, category and angle — all you have to add is the weight and the limb placement.
After a dozen or so you will notice that you write prompts noticeably faster, and that you no longer depend on rolling the dice — because you know what you want, and so does the model.
Two extra techniques
Put the viewpoint in the negative prompt
If your prompt is a front view, add from behind, from side to the negative prompt. The model’s resistance to orientation is weaker than people expect, and excluding explicitly works well.
Match the framing to the resolution
Write full body shot and generate a 1:1 square and the figure will be squashed. Use 2:3 or 3:4 for full body, 4:5 for upper body, and only 1:1 for close-ups. The library’s originals are uniformly 900×1200 (3:4), which suits a full-body reference exactly.
Next
With the pose settled, the next questions are what the figure wears and what the face looks like. Those map to the costume library and the portrait library, and the logic is identical to this article: split the dimensions, do not stack the words.